Wednesday 17 December 2014

Textured feeling

A job a long time in the making and recently finished is the rear cabin roof. A compromise between looks and practicality the middle portion has a textured finished while the outer edge is highly polished.

Beginning with 4 coats of 2K high build primer accompanied by copious amounts of rubbing down to smooth out the old fibreglass texture on the roof. 2 coats of International Perfection 2k paint in Mauritius Blue were then sprayed across the whole roof, with an additional 3rd coat applied to the outer edge. Next the centre was masked and more Mauritious blue was mixed with 10 percent silica sand and rolled on for and even texture. Lastly the outer edge was smoothed out from 1200 to 3000 grit and buffed up for nice shine.

In-between each process I left the paint to settle to minimise any shrinkage in the final finish, rather than wasting this time I quit my job building Bentleys, went on a road-trip to Italy and had a short holiday in Cyprus. Which was nice.


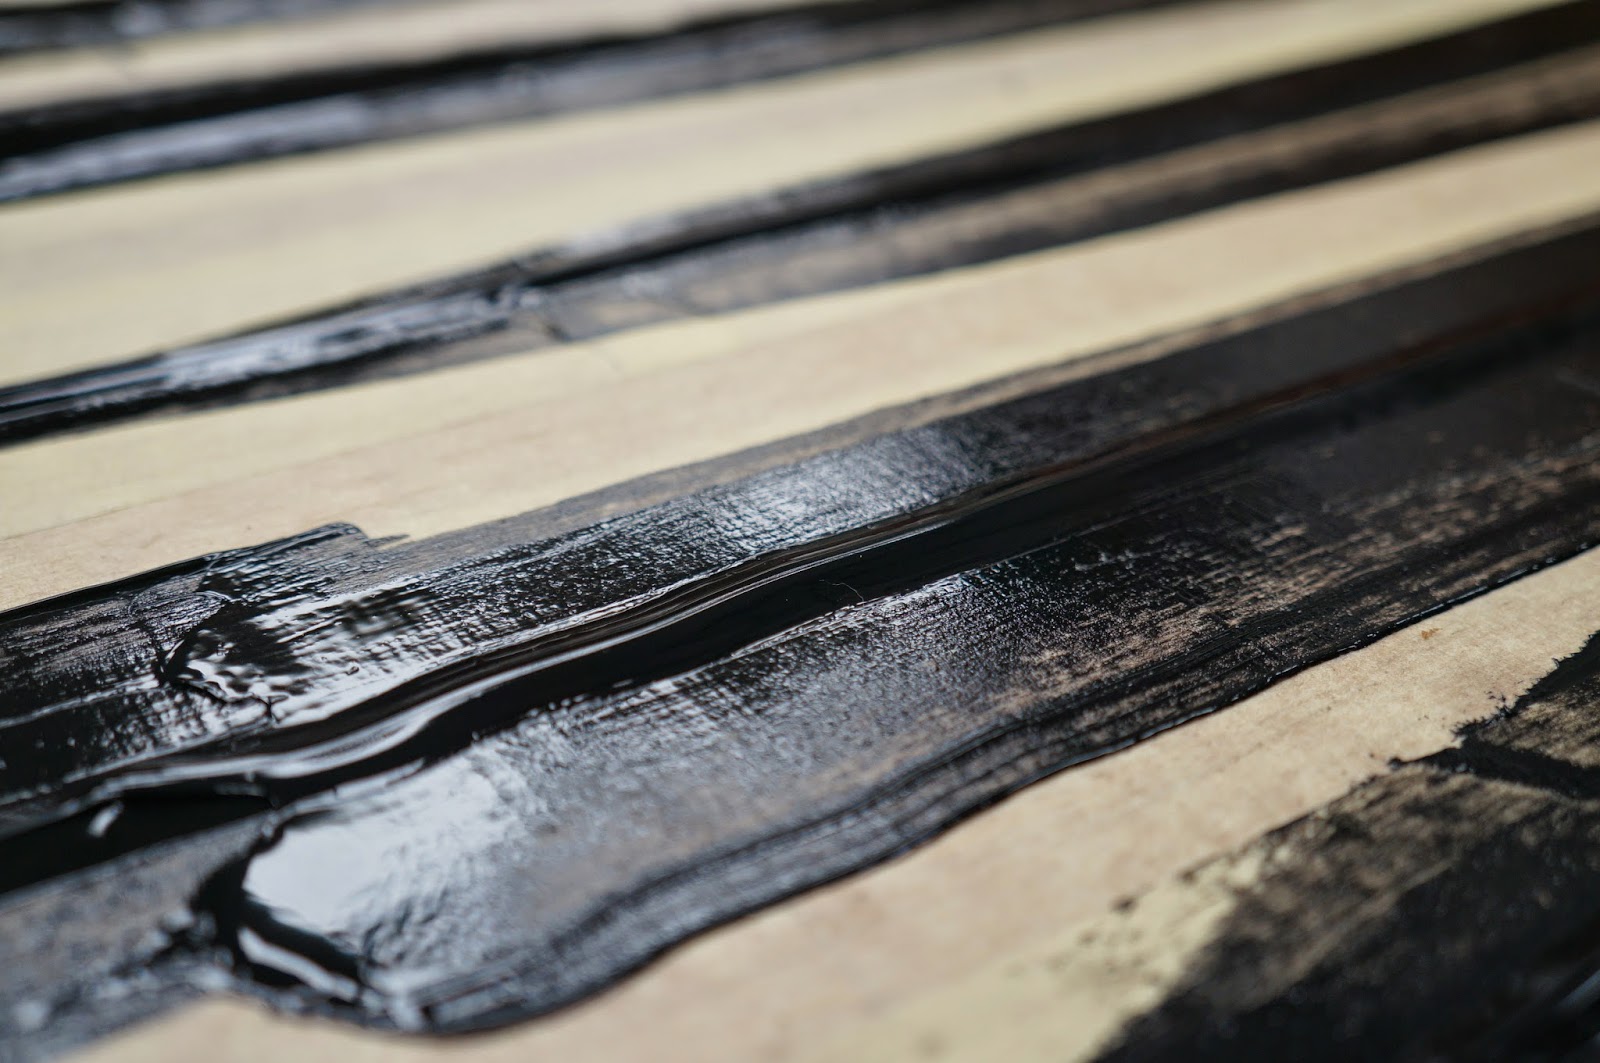
The curve of the texture mirrors the curve of the cockpit creating a repetition of shape. 


Many a happy hour was spent masking prepping and polishing this area. Turned out alright tho.


Oh and the wheelhouse roof has also been finished to the same standard, photos to be added soon.


Thursday 25 September 2014

Website

Australian Boat Restoration now has it's own dedicated website. Rather than relying solely on the blog, I've created an easy to navigate site to compile all the features and details of the project, from a chronological history to the finished specifications. Click below to take a look.

Click here to visit the site

Interior Mock-Up

Using a few car loads of MDF, hardboard and whatever was laying around the workshop I have mocked-up the interior, primarily the aft cabin and wheelhouse. I did this for two reasons, firstly as proof of concept of my drawings and secondly to allow further design inspirations to flourish within the now 3d space. It's great to be able to sit, ponder and pose in this space rather simply study drawings. Also it was quite annoying trying to show people round the boat and having them slide in to the concave void that is a boat bilges.


The fore cabin I have yet to tackle, I have multiple designs depending on the practical demands of the final customer, whether it be a larger bed, bigger bathroom, more storage, extra bunks, etc. I didn't want to obstruct the overall view with some clumsy erections.


Wednesday 10 September 2014

Onboard Romance

There is something romantic about boats. While some of them chose to show off their alluring luxurious glow with floating glass wine bars, bubbling hot jacuzzis and proudly displaying the name of the vessel, and most likely the name of the owners lover with backlit stainless steel letters strewn across the stern for everyone to see. Others however are propelled by edwardian engineering, sport the name of a 19th century black faced minstrel doll, and have all the glamour and luxury of a rickshaw. But let's not forget, Gollywog is still a yacht, a boat built purely for pleasure and even tho it didn't have romance billowing from it's boilers, John Goddard still found the time to firmly screw this lovely picture, in-scripted with a message of love from his wife, Katie Goddard, to the wall adjoining the toilet.


To John "God Bless Our Captain"  With Love. Katie.   15.11.75

Personally speaking I can't say I'm entirely sold on the idea of naming 10 tons of buoyant wood and nails after a beautiful significant other, but the way in which my girlfriend kissed me in the wheelhouse while I was in the middle of explaining how the tightly packed grain of the huon pine makes it ideal for boatbuilding leads me to believe, there is something romantic about boats. 


Tuesday 9 September 2014

Photo Shoot

With approximately 80 percent of the exterior complete it was a good time to tidy the place up a bit and take some photos.


And after a bit of colouring in we had a picture good enough to send to Classic Boat Magazine where this restoration will be featured in next months Yard News.


Friday 11 July 2014

Decking Part 5 - Finishing

Pealing all the sticky masking off wasn't very picturesque but did leave nice clean lines of caulking ready to slice off with a sharp chisel.


The next step was sanding, the majority of which we used the air powered random orbital with 80 grit discs, using a sanding block to get in to the edges.


A very dusty job but with a quick hoover up the results are very satisfying.


One of the first jobs I did before starting the decking was to fit bits of scrap ply up against the inside of each skylight opening. I used acrow props inside supported from the keel not only for safety but it was also practical to have somewhere to put cumbersome tools, and employees.


Saturday 5 July 2014

Decking Part 4 - Bonding & Caulking

Happy that all the planks and gaps were perfectly spaced and masked, each strip was laid out and de-greased using Sabaclean 48 and 3M disposable panel clothes.


A very sticky process indeed, working in a team of four we used an air powered sausage gun to apply Sabadeck to the thoroughly prepared marine ply substrate and the underside of our teak strips. A notched spreader was used to ensure a good even coat of glue was applied before laying, spacing and screwing each plank in position.


We ditched the air gun in favour of a more controllable hand operated sausage gun for the final stage of the Saba adhesive system, the imaginatively named Sabacaulk, which we applied with a fine nozzle filling from the bottom upwards in order to minimise the chance of air pockets.


A flat spreader was modified to provide a 2mm arc over each seam and carefully dragged over the 100 meter plus of caulking. A process neatly perfected by the time we had finished.


The Saba decking system was chosen by recommendation of Robbins Timber who supplied pretty much everything needed for this project. I found useful information regarding quantity calculations, application methods and drying times on both their website and Saba's

Saturday 14 June 2014

Decking Part 3 - Planking

Firstly I roughly laid out the planks according to which size needed to go where, then I shuffled them around switching port with starboard to get an even colour across the deck. I found two light or two dark strips next to each other tended to stand out a bit. Once I was happy with the overall look each teak plank was roughly cut, spaced out with off cuts to give a 6mm caulking gap and screwed down with over size washers.


All the edges were removed at this point and laid on top of the roughly cut planks, marked-out again using another off-cut to give the 6mm spacing, cut using a bandsaw and then belt sanded to the precise curve.


Once this process had been repeated round all edges and both skylights each plank was masked on the top face, spaced and screwed to test fit the whole deck, taking the time to draw round each washer so when it came to glueing each plank and each screw could be positioned easily and quickly. 


Thursday 12 June 2014

Decking Part 2 - Edges

I made this moulding to cover the edges of the ply and frame the new deck. At 18 x 20 mm it was small enough to simply bend and screw in to place without steaming.


Cardboard templates were used to cut out the shape of the wheel house and maximise the amount of decking I could get out of each plank.


Rather than steaming the outer edge plank to achieve the required curve I laid 72mm wide strips close to the edge, marked out where to cut with this home made jig and cut and sanded them to a neat fit.


The same process was then repeated to cut the inner most edges to form a continuous 44 mm plank around the newly fitted edges and a 50 mm plank round the wheelhouse.


Wednesday 11 June 2014

Decking Part 1 - Design

Teak decking the fore cabin roof was a job started by Alex Ritchie who very neatly laminated two pieces of 1/4 inch marine ply across the entire area. I picked up where he left off beginning by using a simple laser clamped to the wheelhouse roof to get a definitive centre line.


Using measurements taken from the middle outwards I was able to create a CAD drawing, and from there begin designing the layout based on the original 1908 Simpson Stickland drawings using straight wide planks. 


With all the calculations done I ordered over 100 meters of planned to size teak decking strips from Robbins Timber. Next step being to figure where each one goes according to my calculations..