And after a bit of colouring in we had a picture good enough to send to Classic Boat Magazine where this restoration will be featured in next months Yard News.
A blog following the restoration and transformation of a 42ft Halvorsen and Gowland huon pine steam launch into a fully appointed modern motor boat.
Tuesday, 9 September 2014
Photo Shoot
With approximately 80 percent of the exterior complete it was a good time to tidy the place up a bit and take some photos.
Friday, 11 July 2014
Decking Part 5 - Finishing
Pealing all the sticky masking off wasn't very picturesque but did leave nice clean lines of caulking ready to slice off with a sharp chisel.
The next step was sanding, the majority of which we used the air powered random orbital with 80 grit discs, using a sanding block to get in to the edges.
A very dusty job but with a quick hoover up the results are very satisfying.
One of the first jobs I did before starting the decking was to fit bits of scrap ply up against the inside of each skylight opening. I used acrow props inside supported from the keel not only for safety but it was also practical to have somewhere to put cumbersome tools, and employees.
Saturday, 5 July 2014
Decking Part 4 - Bonding & Caulking
Happy that all the planks and gaps were perfectly spaced and masked, each strip was laid out and de-greased using Sabaclean 48 and 3M disposable panel clothes.
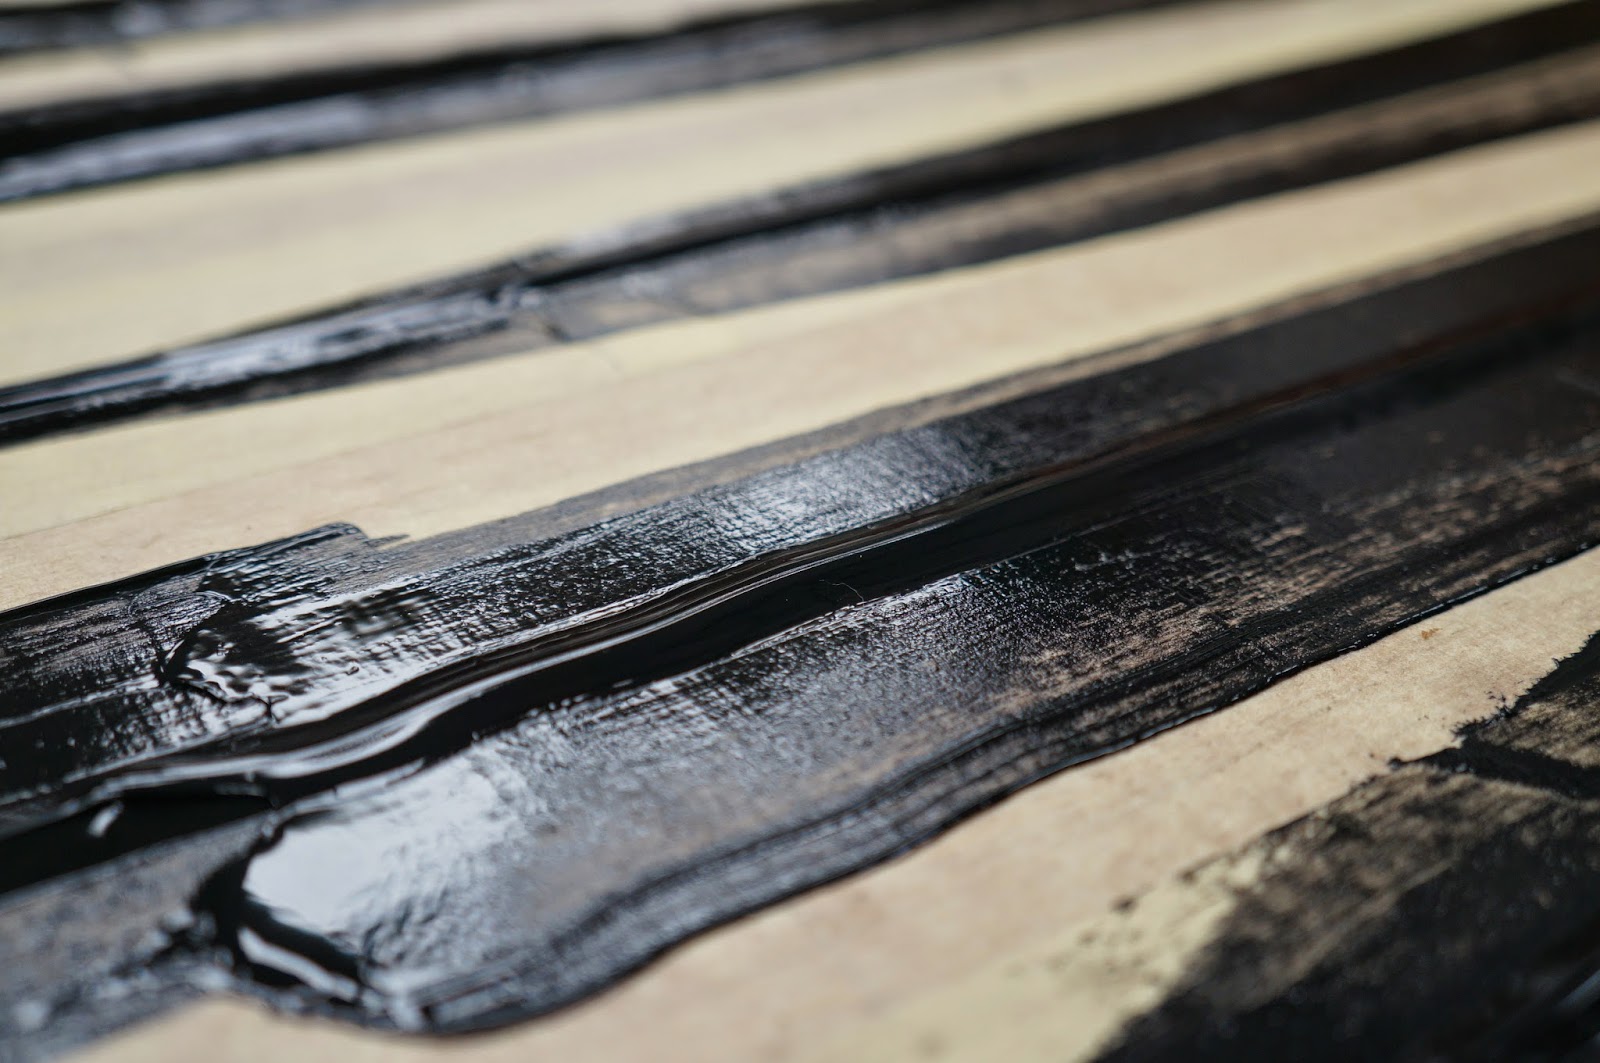
We ditched the air gun in favour of a more controllable hand operated sausage gun for the final stage of the Saba adhesive system, the imaginatively named Sabacaulk, which we applied with a fine nozzle filling from the bottom upwards in order to minimise the chance of air pockets.
A flat spreader was modified to provide a 2mm arc over each seam and carefully dragged over the 100 meter plus of caulking. A process neatly perfected by the time we had finished.
The Saba decking system was chosen by recommendation of Robbins Timber who supplied pretty much everything needed for this project. I found useful information regarding quantity calculations, application methods and drying times on both their website and Saba's
A very sticky process indeed, working in a team of four we used an air powered sausage gun to apply Sabadeck to the thoroughly prepared marine ply substrate and the underside of our teak strips. A notched spreader was used to ensure a good even coat of glue was applied before laying, spacing and screwing each plank in position.
We ditched the air gun in favour of a more controllable hand operated sausage gun for the final stage of the Saba adhesive system, the imaginatively named Sabacaulk, which we applied with a fine nozzle filling from the bottom upwards in order to minimise the chance of air pockets.
A flat spreader was modified to provide a 2mm arc over each seam and carefully dragged over the 100 meter plus of caulking. A process neatly perfected by the time we had finished.
The Saba decking system was chosen by recommendation of Robbins Timber who supplied pretty much everything needed for this project. I found useful information regarding quantity calculations, application methods and drying times on both their website and Saba's
Saturday, 14 June 2014
Decking Part 3 - Planking
Firstly I roughly laid out the planks according to which size needed to go where, then I shuffled them around switching port with starboard to get an even colour across the deck. I found two light or two dark strips next to each other tended to stand out a bit. Once I was happy with the overall look each teak plank was roughly cut, spaced out with off cuts to give a 6mm caulking gap and screwed down with over size washers.
All the edges were removed at this point and laid on top of the roughly cut planks, marked-out again using another off-cut to give the 6mm spacing, cut using a bandsaw and then belt sanded to the precise curve.
Once this process had been repeated round all edges and both skylights each plank was masked on the top face, spaced and screwed to test fit the whole deck, taking the time to draw round each washer so when it came to glueing each plank and each screw could be positioned easily and quickly.
Thursday, 12 June 2014
Decking Part 2 - Edges
I made this moulding to cover the edges of the ply and frame the new deck. At 18 x 20 mm it was small enough to simply bend and screw in to place without steaming.
Cardboard templates were used to cut out the shape of the wheel house and maximise the amount of decking I could get out of each plank.
Rather than steaming the outer edge plank to achieve the required curve I laid 72mm wide strips close to the edge, marked out where to cut with this home made jig and cut and sanded them to a neat fit.
The same process was then repeated to cut the inner most edges to form a continuous 44 mm plank around the newly fitted edges and a 50 mm plank round the wheelhouse.
Wednesday, 11 June 2014
Decking Part 1 - Design
Teak decking the fore cabin roof was a job started by Alex Ritchie who very neatly laminated two pieces of 1/4 inch marine ply across the entire area. I picked up where he left off beginning by using a simple laser clamped to the wheelhouse roof to get a definitive centre line.
Using measurements taken from the middle outwards I was able to create a CAD drawing, and from there begin designing the layout based on the original 1908 Simpson Stickland drawings using straight wide planks.
With all the calculations done I ordered over 100 meters of planned to size teak decking strips from Robbins Timber. Next step being to figure where each one goes according to my calculations..
Tuesday, 27 May 2014
May Progress
Blue stripe!
Cockpit almost complete.
I had a new solid teak door made to match the rest of the new additions. Replacing the rattly sliding door with a sealed, double glazed, hinged one.
Mediterranean white walls and hull, non-slip interdeck floor, and deks olje the bare teak benches.
Tuesday, 11 March 2014
Keys
This is a picture of my keys.
One is for my home in Devon, another for my home in Cheshire, the other is for the boat (well the massive shed with the boat in it) and lastly for my car. This neatly summarises my life for the past few months.
What does this have to do with the boat I've come here to look at I hear you ask. Well it means whilst there hasn't been many exciting updates on the blog, there has been many hours toiled away restoring every inch of the boat.
The good thing about restoring a boat in such lovely condition is for the most part restoration involves nothing much more than meticulous sanding, cleaning, masking, preparation and subsequent painting or varnishing. The bad thing about restoring a 42' boat in lovely condition is... well I'm sure you get my drift.
In recent weeks the patron saint of sanding finger tips away, trying the find the end of masking tape and watching paint dry has been my mum (Eileen) seen here posing for a photo.
| My keys |
One is for my home in Devon, another for my home in Cheshire, the other is for the boat (well the massive shed with the boat in it) and lastly for my car. This neatly summarises my life for the past few months.
What does this have to do with the boat I've come here to look at I hear you ask. Well it means whilst there hasn't been many exciting updates on the blog, there has been many hours toiled away restoring every inch of the boat.
The good thing about restoring a boat in such lovely condition is for the most part restoration involves nothing much more than meticulous sanding, cleaning, masking, preparation and subsequent painting or varnishing. The bad thing about restoring a 42' boat in lovely condition is... well I'm sure you get my drift.
In recent weeks the patron saint of sanding finger tips away, trying the find the end of masking tape and watching paint dry has been my mum (Eileen) seen here posing for a photo.
Saturday, 7 December 2013
The National Library of Australia
Cool.
Tuesday, 15 October 2013
October Progress
Some photo's of work in progress and work that's been completed, the former being in the greatest abundance.
Some more glossy top coat on the hull.
Old wallpaper was used for masking off the blue waterline.
Side decks repaired and caulked.
Aft cabin windows double glazed.
Interior huon pine oiled.
Some more glossy top coat on the hull.
Old wallpaper was used for masking off the blue waterline.
Side decks repaired and caulked.
Aft cabin windows double glazed.
Interior huon pine oiled.
Subscribe to:
Posts (Atom)